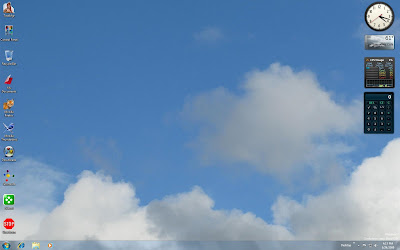
 When I installed the RC, I lost my custom themes so I've just re-built one of them. Here's how, in case you'd like to make your own.
Go into your "Documents" folder, and create a new one named DesktopBackground (all one word, like registry entries) and put that into another folder you've also just created there, named for your new theme. Now, choose several desktop-sized (whatever your desktop resolution default setting is) pictures to use in the new slideshow-type theme. Number those consecutively, so they will follow one another in order. Put them into the folder you named DesktopBackground, which is now inside the folder named for your theme.
Make sure you have gone into Folder Options -> View -> Select "Show hidden files & folders". Go to and open: Users -> (your name) -> AppData -> Local -> Microsoft -> Windows -> Themes. Drag your newly-named theme folder into the Themes folder and select "Move here".
To get your new theme working on the desktop, go into its folder, open the one you've put your pictures in (DesktopBackground) and on the Edit menu, choose 'Select all', then right-click on any of them, and choose "Set as Desktop Background". One of those images should now be on your monitor's desktop. Now, you can close those open folders, and do your thing with those hidden files to re-hide them (Folder Options -> View...) Lastly, to put your new theme officially into the works, right-click an empty part of the desktop, and choose "Personalize". Look up near the top of the window that opens showing your themes, and you should see your new one, marked as "Unsaved Theme". Right-click on it and then choose "Save". It will now be saved with the others, and you can change its settings just like those other ones. If you want a different theme with other pictures, just repeat all this.
No comments:
Post a Comment