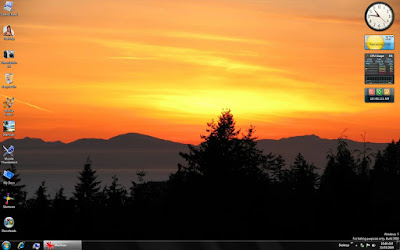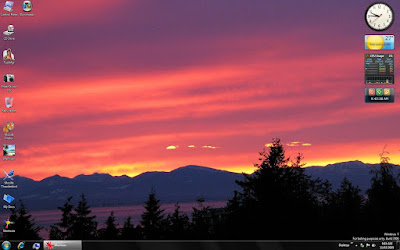
 If this don't get the old eyeballs working, then nothing will. It's two of seven in a set I made up for a custom desktop background for Windows 7. One of the nice features of Windows 7 is that you don't have to settle for just one background picture always there on the monitor.
You can make up a set of several pictures and name their folder 'DesktopBackground' and put that folder into another named for the theme you've just made up. Then, you simply add that to your personal custom themes folder.
Using Windows Explorer, go into Tools -> Folder Options, and choose View -> Show Hidden Files and Folders. This lets you see your user AppData hidden folder. Now, you're ready to follow the file path to the location for adding your new theme. And that would be something like this:- Users -> (Your user name) ->AppData ->Local ->Microsoft ->Windows ->Themes -> (Name of your Theme). Drag & drop your new theme folder into the main Themes folder, and then to actually get it working, go back onto the Desktop, and right-click it, and choose Personalize. Then choose Desktop Background along the lower part of that window, and then choose "Browse", so that you can go back to where you just left that new theme folder. Click on its name to open it, then click on its inner folder DesktopBackground (be sure you typed that as all one word, like you would for an item in Registry) and then, select all your pictures, if they aren't all selected already. Choose 'Save changes', and you're done - your new theme's pictures are now being shown on the desktop according to the timing you picked for it. (You did check that, didn't you?) - And that's all there is to it. Now all you have to do is go back into Windows Explorer -> Tools -> Folder Options -> View and remove that check-mark you added to 'Show Hidden Files and Folders', so those are again hidden. You're done - buy yourself a beer!
No comments:
Post a Comment